Monday, October 20, 2014

My favorite way to rewire a Vespa! + Winter Grande build start + Watercooled pics.

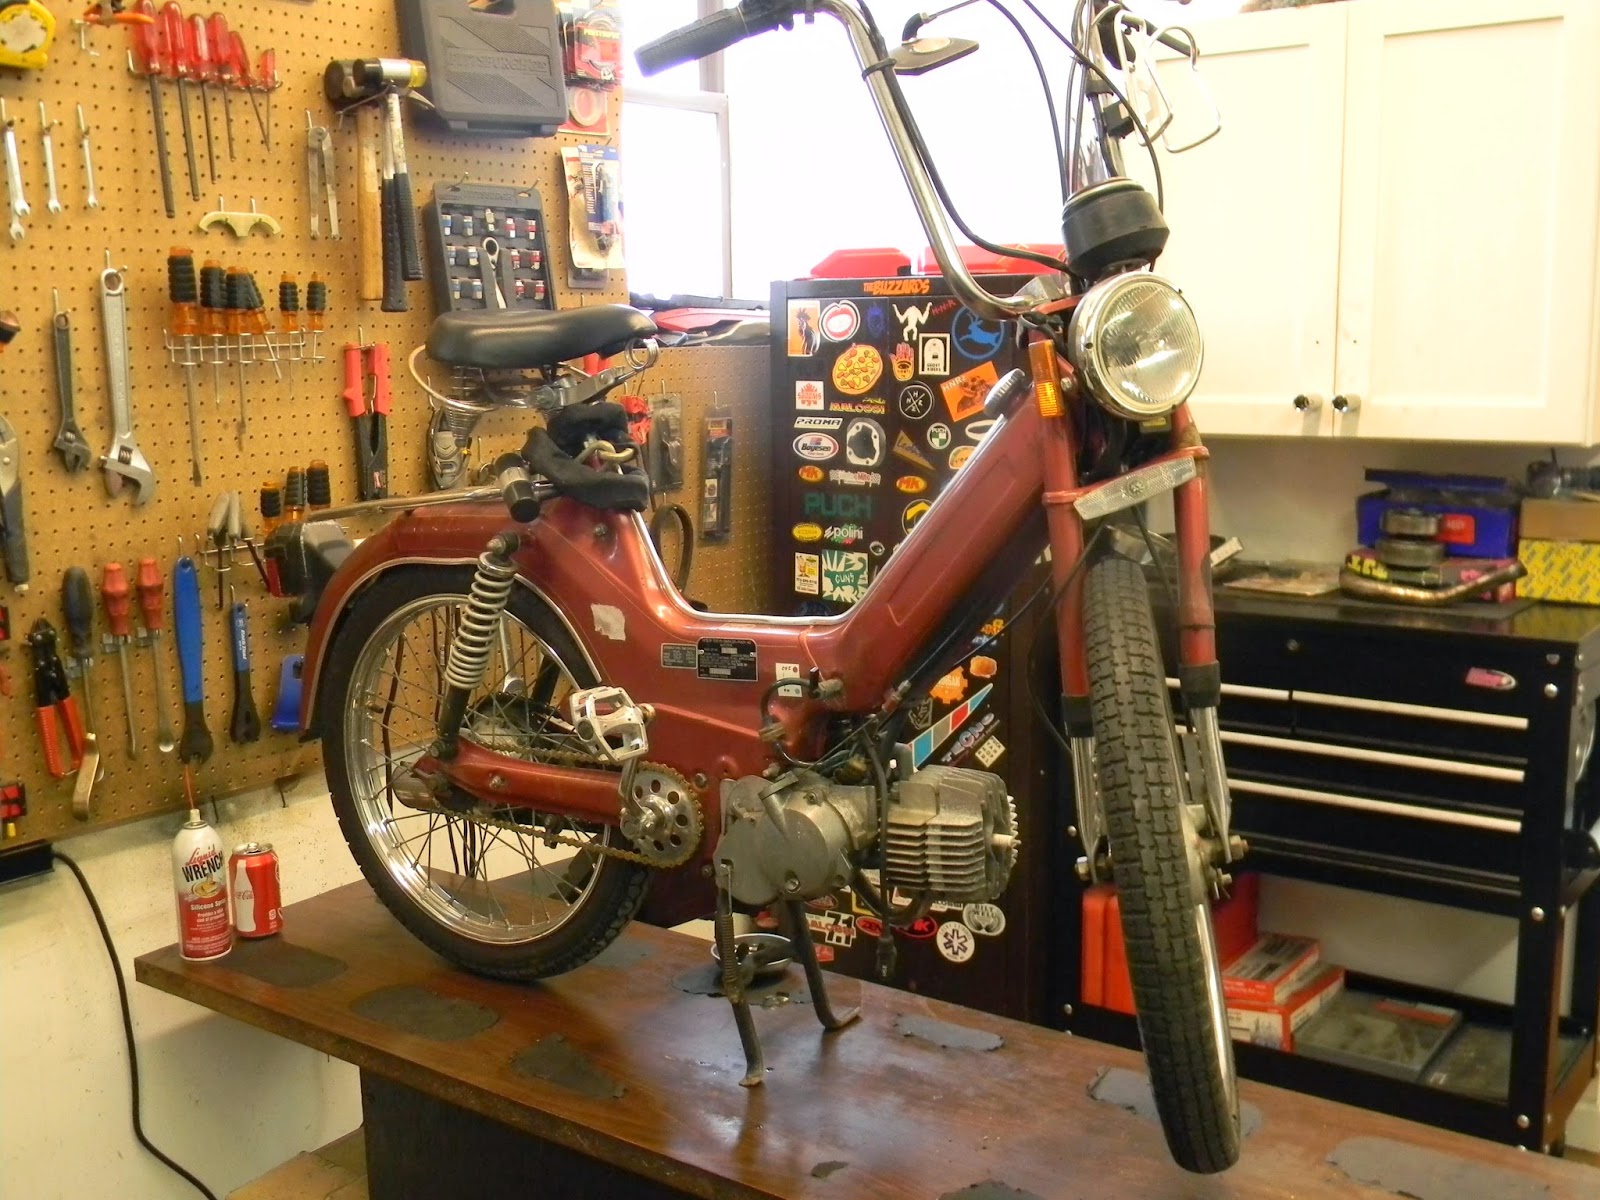
Did some more work on my red Ciao, I really enjoy this bike. Im finding myself more and more comfortable with the front forks at high speeds. I finally passed my Gf who was riding my stock Derbi Variant Sport (Which is a big deal to me). Im still loving the single speed setup because of its speed reliability. Here are some pics of the current radiator setup after I added an overflow bottle. Ive been experiencing average temps from 260-310 but thats just in town riding, I really want to get a reading of what my temps would be like at WOT for miles. 

 Tucked in there.
 I used a M.O.P.E.D. oil tube from our shop for the overflow bottle. I drilled and tapped a 15mm Bing banjo into the fillcap of the radiator and the bottom of the oil tube. I then put a small hole at the top of the bottle for overflow.  Its really rad to see the coolant boil up into the bottle after short blasts. 
 So Im rebuilding my Vespa Grande engine currently for my winter Grande. I figure I should just have one bike to destroy in the snow and rain this year. My Grande has always been an outside only bike and you can totally tell. So far Ive replaced the bottom end bearings and seal, done deeper case matching (64cc Malossi), Bored the intake, cut the crank, and cleaned it up a little. The stock crank has been holding up very well for the amount of miles that have been put on it.  No its time to rebuild the stator with my "Go To" format. This is my favorite way to wire a Vespa and it applies to Ciao, Bravo, Grande, Si, and most vespa powered mopeds. 
 So this is your whole electrical system (you may have another coil for turn signals), points, condenser, lighting coil, and ignition coil. Inspect every wire and solder point for in perfections. 
 I found that my ignition wire leaving my points was worn.
 The red wire attached to this square male plug is for your lights. I dont like this design and I disable it, Ill show that later.
 It clips into this square hole
 Cool.
 So on your ignition coil there are 2 wires, one (red) goes to your points and the other (blue) is for your brake lights. On Vespas and many other Italian mopeds, there is a safety feature that kills your ignition when your brake light is out. I am not a fan of this setup because it compromises the reliability of the bike because you never know when you might blow a bulb. Grounding this blue wire out eliminates the whole brake light circuit and you never have to worry about losing spark because of it. I suppose if you really wanted to have break lights but have a way around this incase of a blown bulb, you could always have a ground switch for the whole brake light system.  Ive had the most success with grounding it out as it is one less thing to worry about (that's important in building mopeds).
 Be sure to loctite everything!
 I cut the blue wire and ground it out using a small (5mm) circle wire connector and connecting it to the coil bolt.  Also be sure to not cut the blue wire too long or too small.
 Like I said earlier, I  eliminate the square plug that the lighting coil connects to. I used matching red wire (duh) and made it extra long to be safe. If you are familiar with Vespas you will know how frustrating it is on a Bravo/Grande/Si when the female lighting plug comes loose from the square connector.  Gah!
 The lighting coil bolts down on the bottom of the stator plate, the condenser goes on the right side.
 Wires seen here (all three have small circle connectors on them for attaching to points) : Red is from your internal ignition coil to your points, Black goes from your points out to the external ignition coil, and Yellow is from the condenser to the points. Make sure to tuck your wires in the cool channels! 
 So this case plug used to have the blue (brake light) and black (ignition) wires coming out of it. Since I internally grounded out the blue brake light wire, I have room for the new light coil wire as well as the black ignition wire. 
 Looks good! I went ahead and stuck the disabled square light plug back in the cases to seal it up. So I run the black to the external ignition coil and the red to the lights. No kill switch, only decomp, one less thing to fail. 
 So then connect the yellow, black, and red wires to the points and you are good to go..... well time your bike first! 
Look at this Malossi 64cc kit! I love the fact that this is an aftermarket part that looks worse than some original parts. This guy came into the shop one day and said "Im out of mopeds, I want you guys to have this" He gave us a box full of Vespa stuff. I dug this rusted Malossi kit out and broke the rings free. It ran decently for a trashed kit and when  I took it apart this last time, I checked the ring gap and its was 3 mm! Thats right not .03 or .3 mm! hahah. I also got a very used Vespa Simo pipe from him that I run on this Grande as well. Free build!!!! Its kind of rad to get handed down parts and keep them alive.
Got to build this rad dude! This was non variated before but now its a fun little variated ripper. Lots of new goodies. Parmakit 74cc, Polini head, motor mounts, Tun-r launch lever, Sim Turbo pipe, Modded J spring,  Malossi varplus, le party CDI..... and the list goes on. 

Tuesday, September 30, 2014

Experimenting with my water-cooled Vespa head.

So Ive been venturing into water cooling lately and it's pretty rad! I've recently been cruising my red Ciao which is pretty quick. It has a full Malossi engine with D.E.P.S. kit, a custom 47mm matches water cooled head, 19 PHBG, and 30mm Calibrata pipe, which I scored for a killer deal. The current setup is single speed and I love it but I will probably variate it eventually for shits and giggles. I really love the look of the stock forks on Ciaos but venturing over 40mph on them is pretty sketchy, so I'll probably switch them out next season. I want to have this bike as a daily drivers so I want to eventually have a fast ass bike with very low temperatures. Anyways back to the H20 crap.... My first and funniest attempt at thermosiphoning cooling can be seen in the first 2 photos. It was more or less just an experiment and the easiest way to set it up.  If you arent familiar with Thermosiphoning, it is a cooling technique that uses convection to circulate the cooling fluid without a pump. 

 So this first setup worked, just not as good as it should. With the radiator so far away from the head and the long hoses, the cooling wasnt very effective. With this setup I wasnt seeing any temps over 320 degrees but that is easily attainable with an aircooled setup.  Also forgot to mention this is the small "snake" Polini radiator.

 Yea on the ride a few nights ago my radiator fell off and I was dragging it behind me, kind of funny. 

 This is my current and second try.  BARELY got the snake radiator tucked under the tank and shortened the hoses. I still need to do some fiddling to get it mounted perfect. I was looking at a few of water cooled moped photos and it seems like the Ciao has much less room than Puchs and French bikes.  

 Went out and went WOT for a long long while and my temps didnt get over 280 degrees. Which is pretty good but I still think it can be much better.  I really feel like the snake radiator is ultimately too small for the cooling Im looking for. Maybe I can find another for cheap and run 2? haha.

 So here are a few other radiators I have gathered for experimentation.  From left to right KTM65, Derbi GPR50, and Mini Polini radiator. So I would love to use the larger ones but I think next I will install the Mini Polini radiator due to the lack of space under the tank. Its a tad larger than the snake radiator but still thin. 
To show the thickness of these guys. The KTM and Derbi are kind of out of the question right now. I really love fenders because I ride year round, maybe I will have more room with a fork swap? 

Looks like there is a decent amount of room with the EBRs so who knows.  So far its been fun to experiment with radiators and cooling. Im planning a 50cc full H20 Polini build next year which will probably have a pump, so far this is all just practice for it. If you have experience with water cooling hit me up! COOOOL.

Peugeot 102 MLM intake a pipe install.

So I got to do some Peugeot 102 upgrades the other day at the shop. Ive always thought 102's were very pretty bikes. Unlike the Peugeot 103 (variated), they have a single speed transmission and have very few aftermarket parts made for them.  I have a theory about less desirable bikes like the 102.... Since there isnt much you can do to make it faster and other models are "cooler" these bikes are less likely to be molested and chopped up. Most of the 102's Ive seen have mostly been in great shape.  So the only available performance upgrades for the 102 is a MLM 15mm Dellorto Sha intake and MLM People's pipe. I installed them on this bikes and here is how it turned out. 


When bolting up the pipe I found that with the header tightened down, the rear mounts were about a centimeter spaced out from the pipe mounts on the frame. I used 30mm m6 allen bolts and used spacers in between the pipe and mounts so not to pull the pipe in an unnatural direction. Remember to use a new exhaust gasket when installing this. The pipe sound is pretty deep and not as pingy as most other bikes. Good construction and bolts up decently. I didnt notice much low low end gain from the pipe but thats what pedals are for! Definitely better mid range and high, no distinct power band but it wraps out way higher than the stock setup.  

This is the 15mm Sha on the MLM forward facing intake. The intake sits at a nice angle and doesnt get in the way of pedaling, it might if you have a huge air filter though. If you look closely, I pulled the left intake stud and replaced it with a 16mm m5 bolt. The reason I did this is because that stud is super long to use the stock intake and with this MLM intake it hits the side of the intake.  Other things to keep in mind when going with this setup: You need to buy a new throttle cable, a Puch Maxi length with bendy will work just fine.  You also need to buy the 1mm Sha shim to get this carb (15mm Sha lever choke) to work on the MLM intake.  

Lastly if you want to run this intake/card with the sidecovers you will need to do some modifications to make it fit. 

So after all the upgrades and tuning I GPSed the bike at 33.1mph on flat ground and could probably see faster speeds with longer straight aways (IM IN CHICAGO!). It might not seem like a huge upgrade but from my riding experience, a jump from 25 ish to the 30's range is pretty significant. 


FORGOT TO MENTION!!!! Here at M.O.P.E.D. we celebrated our 2 year anniversary!!! Wow cool! I feel lucky to work on mopeds every day and keep Chicago cruising. 

Here are a few photos, we had a great ride, pizza, girls, beers, pops,, and Zac did a burn out in his Miata.  Like the last anniversary ride, e left with a ton of people and only like 10 made it back, I guess Chicago just easts up mopeds. 


Tuesday, July 1, 2014

The things you see working at a moped shop. + Moby Turbo kit pipe, Demm Smily head options,

So I finally got around to posting some random M.O.P.E.D. photos, my lightroom has been screwed up for the last month but I finally figured it out.  It's interesting working at a shop because you see tons of weird fixes, modifications and personal stylings. I really enjoy working on all types of bikes that I wouldnt have access to without the shop. Sometimes you just need to do a tune-up on a sweet Batavus to remind yourself why mopeds rule.  Here are some pics from around the shop.
 Focus..... Warbux magnum came through and made me think of the older days of Chicago moped shops.
 An interesting boost port modification. 
Some times I leave little notes for people.
Which way does this huge arrow go!~?
 "yea it runs, just need it jetted" Also look at that petcock a centimeter away from the carb haha.
 One of our favorite customers got in a fender bender.
 We got it sorted out.
Motion Left Relics from the past.
 Moped Trivia: NAME THAT PART!!!!
 Got to install a Motobecane Turbo Kit side bleed pipe.
The rear pipe mount on the engine cases took some fiddling but it ended up mounting fine.
 I had to remove the kickstand and hack the mount for the pipe to not rub while fully variated. 
So I was VERY excited to finally work on a derny bike. The gentleman who inquired about getting it worked on was relieved we actually knew what it was. If you dont know, a derny bike is a E50 powered (usually) pace setting bike for the Velodrome races. Check out videos of the racers drafting them, it's cool. BTW this bike has a throttle dial and is completely fixed gear, it was fun to ride. The fellow who brought it in said "Mr. Bianchi....imported this from Germany" Idk how true that is, but it was exciting to have in the shop. 
Puch E50, 21mm PHGB, 80cc Metra kit and a pipe that doesnt exactly perform at all. I installed a condenser and this came with no lighting coil, pretty sweet. 
 Bonus funny Derny bike video, the Thin Lizzy and radness starts at 1:05.
 A BEAUTIFUL 1986 General 5 star came through the shop recently. We installed an 80cc Polini, 15:15 SHA, and a Zen pipe. It was almost a shame because of how everything on the bike was pristine. 


 Next was some funky Sachs fixes we saw. This guy gets A for effort and working with what he had. 
 What a very nice homemade Sachs transmission cover.
So I picked up a Demm Smily for cheap cheap and had to address a few issues. First the piston was gone so I grabbed a stock 38mm Minarelli V1 piston and threw it in. Secondly the head was stripped out and after a failed helicoil attempt, I went and dug in my parts pile. I found that Tomos and Puch stud pattern was a direct fit with the Demm. Out of all the Tomos and Puch heads the Tomos A3 seemed to be the most similar in size and looks to the stock Demm cylinder. The only issue was the head was too thick and the cylinder studs barely stuck through the holes in the head.  I just took the head to a drill press and drilled the holes to be more shallow. With all that done, I ran a stock puch head gasket and it works great. I sold the bike to my neighbor and he has been ripping hard on it. Demms are such fun little stock bikes, everyone should have one for going to garage sales on.